A gallery wall is a great way to add flair and individuality to any environment. Unlike other types of decoration, a gallery wall lets you use a carefully chosen assortment of prints, photos, and artwork to convey a story. With this creative arrangement, a blank wall might become a dynamic focal point that draws the viewer in and emphasizes your interests and experiences. A gallery wall provides an abundance of imaginative and expressive possibilities, regardless of your level of experience collecting art or whether you're just wanting to hang up family photos.
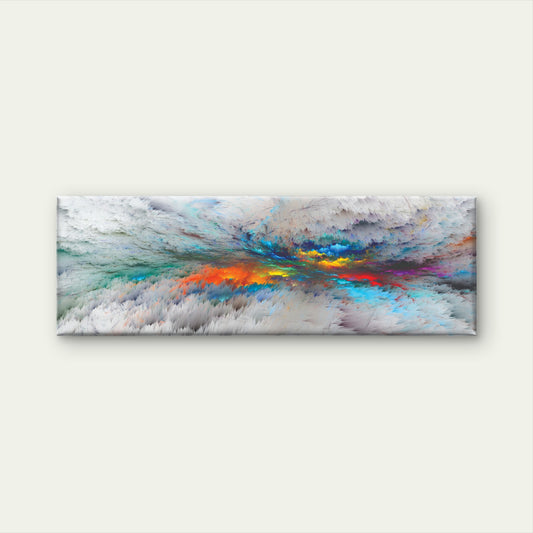
The adaptability of a gallery wall is among its most attractive features. It's simple to combine many kinds of artwork, from fashion posters and abstract art to custom canvases and panoramic prints, and arrange them in a way that expresses your own taste. Because of its versatility, you can change the pieces on your gallery wall when your tastes change or you get inspired by new ideas. Furthermore, creating a gallery wall doesn't have to be costly; for a modern aesthetic, use unframed canvases or mix premium prints with reasonably priced frames. By following a step-by-step approach, from selecting the right wall to making the final adjustments, you can ensure that your gallery wall is both stunning and a true reflection of your style.
1. Pick the Appropriate Wall
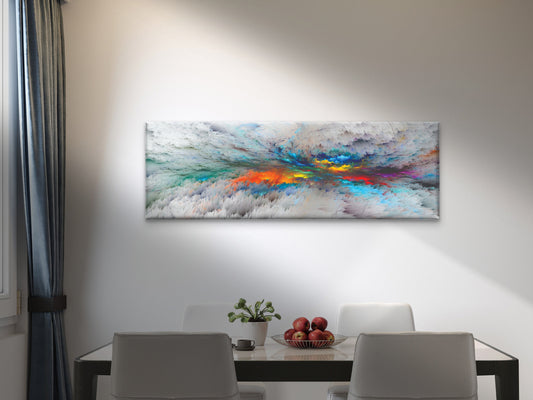
Selecting the appropriate wall for your exhibit is the first stage in building a gallery wall. Choose a location that will be easy to see and can become a focal point in the space. The position should allow the gallery wall to stand out while blending in with the current decor, whether it's a wide wall in the living room, a hallway, or the space above a staircase. Think about things like room traffic, natural light, and the colour of the wall's background as they can affect how people view your artwork.
Once you've chosen the wall, measure the space to get an idea of the measurements you'll need. This will assist you in arranging and sizing your parts. Marking the proportions on the wall with painter's tape will provide you a clear visual reference to follow when you start organising your arrangement.
2. Manage Your Collection
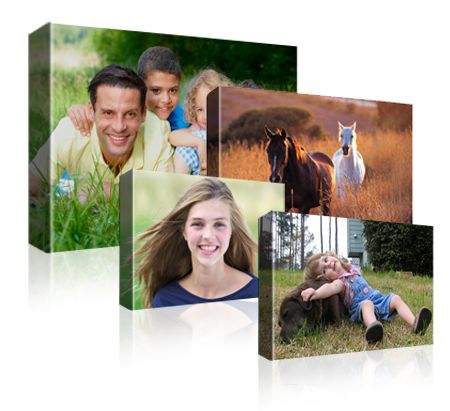
After deciding on a wall, you need to collect the prints, pictures, and artwork you wish to use. Consider the concept or atmosphere you want to establish. Whether you want a more diverse mix or a unified design with complementary colours and styles, your collection should capture your taste and the overall aesthetic of the space. A range of components can be incorporated, including nature prints, abstract art, old posters, and family photos.
Take into account the components' sizes and orientations as you are assembling your collection. A display that is dynamic and balanced can be produced by combining big and tiny components. Consider how unframed canvases will look with framed artwork on the wall if you're working with them. Toss everything out on the ground and try out several configurations before settling on one.
3. Create a Layout Plan
Planning your layout is essential to achieving a visually pleasing gallery wall. Measure each component and make a rough paper drawing of the arrangement first, or use digital tools to make a mockup (covered in the next part). Consider making a focal point with a larger central piece and arranging smaller pieces around it to create balance. Whether you prefer a symmetrical arrangement or a more relaxed, asymmetrical layout, the key is to experiment until you find a configuration that feels right.
While different spacing gives the exhibit energy and intrigue, consistent spacing between elements can produce a cohesive appearance. Play around with different configurations without fear. You can find a plan that fits your area flawlessly but isn't what you had in mind at first.
4. Construct an Online Model
A useful tool for seeing your gallery wall before you hang any pieces is a digital mockup. Canva's many design options and user-friendly interface make it a popular choice for producing mockups. You can upload photos of your artwork, experiment with different layouts, and arrange them on a virtual wall.
But Canva isn't the only choice available. Other great resources for making mockups are Adobe Spark and Fotor. Adobe Spark is perfect for people who want to tweak every little element because it offers sophisticated design features and customization choices. In contrast, Fotor is simple to use and works well for rapid mockups. Beyond these, there are still more resources to investigate, such SmartDraw and ArtPlacer, which provide more capabilities for organizing and arranging your gallery wall. Investigating several tools may assist you in selecting the one that best meets your requirements and guarantees that the finished plan will seem precisely as you have imagined.
5. Examine the Wall Layout
Try your layout before committing to any long-term alterations to your wall. Using painter's tape, cut out paper templates that correspond to the dimensions of your artwork and affix them to the wall. This will allow you to make adjustments to the spacing, alignment, and general balance of your gallery wall by providing you with a real-life preview.
Before hanging the actual artwork, you can find any potential problems by testing the layout on the wall. You can quickly alter the templates till you're happy with the layout if something doesn't look correct. By taking this step, you can be confident that your gallery wall will appear as beautiful in real life as it did in your mockup.

6. Get Your Art Ready
When the arrangement is perfect, it's time to get your artwork ready to hang. Make sure your canvases are properly stretched and prepared for mounting, and make sure your frames are in good shape. Assemble all required hardware, such as adhesive strips, hooks, and nails, based on the weight and kind of each component.
In order to minimize reflections on glass-framed works, you might want to use acrylic or non-glare glass. This is a crucial step, especially in places with lots of natural light. When you take the time to carefully prepare your artwork, you can be sure that it will appear polished and wall-mounted.
7. Display Your Gallery
Now that everything is set up, it's time to hang your gallery wall. Start by using a pencil and a level to mark the locations of your hooks and nails. To guarantee a firm hold while using adhesive strips, adhere to the manufacturer's instructions. Working from the center or largest piece outward, use your paper templates as a reference.
Use suitable hangers or hooks made especially for canvas paintings on unframed canvases. Make sure every component is level and positioned in line with your layout design. Make sure everything is hung correctly by taking your time, as this stage calls for accuracy.
8. Final Adjustments
Once you've hung all of your pieces, stand back and examine the gallery wall as a whole. Make any last-minute changes to make sure everything is properly spaced and aligned. Verify that each component is mounted firmly and level. This is your opportunity to polish the display and make sure it lives up to your standards.
After you're happy with the arrangement, pause to appreciate the outcome. A well-chosen gallery wall can bring personality and flair and entirely transform a space. It involves more than just décor; it involves designing an area that speaks to your unique preferences and life experiences. When you see the finished product, a gorgeous, customized display, whether it’s a set of 3 canvases or a mix of framed and unframed pieces, will enhance your home. The time and work you invested in designing, selecting, and hanging your gallery wall will have been well worth it.
Creating and installing a gallery wall is a fulfilling job that lets you express your individual style in a distinctive and eye-catching way. You can create a stunning and well-organized display that perfectly captures your style and individuality by carefully choosing your artwork, organizing your layout, and utilizing resources like digital mockups. A gallery wall provides an abundance of creative and expressive options, regardless of whether you're working with a combination of framed and unframed works or adhering to a specific theme. Explore the various wall art categories, such as fashion and abstract, and wall art types, including posters and glass frames. Be proud of the area you've designed and relish the changes it has made to your home.