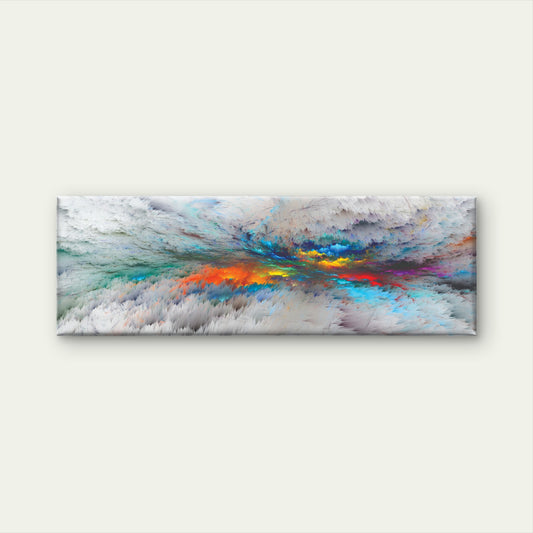
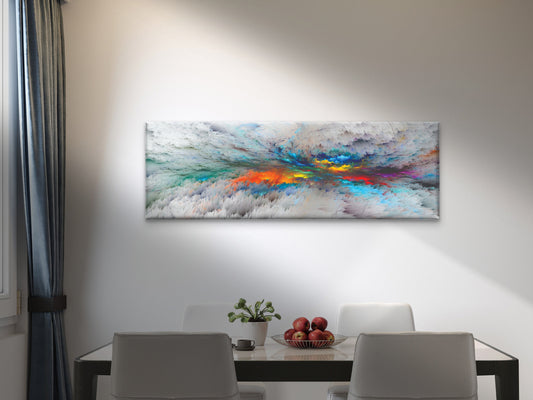
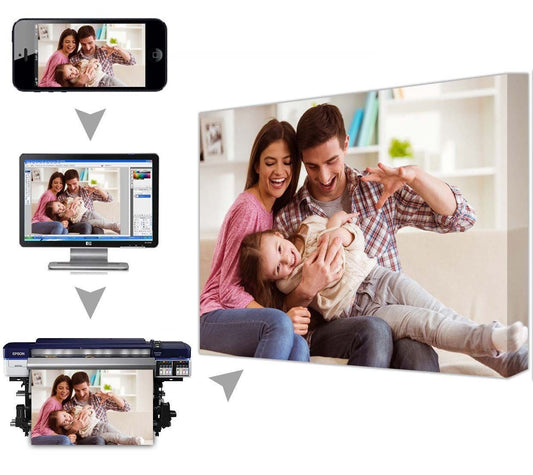
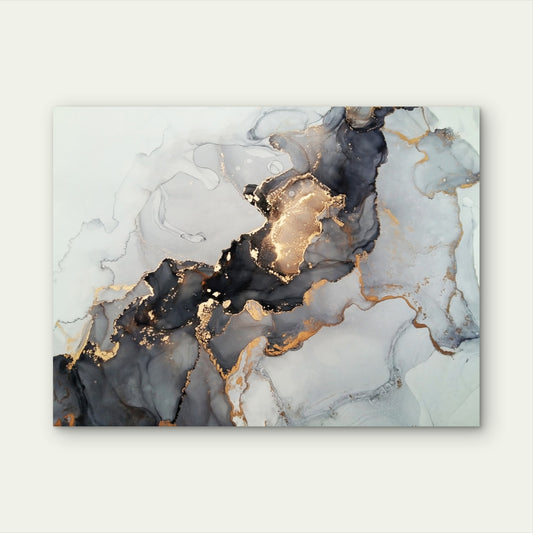
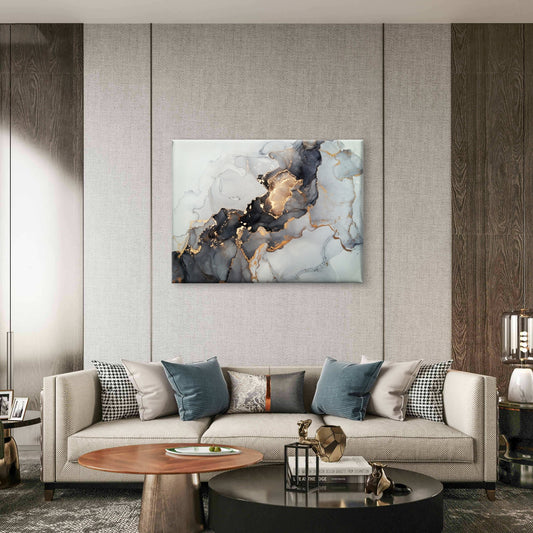
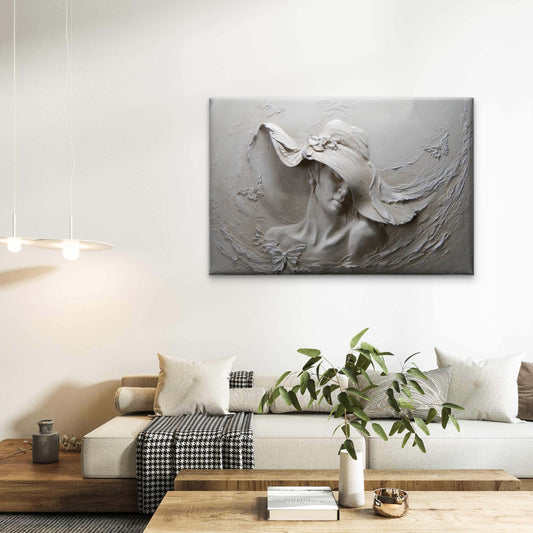
A gallery wall is a fantastic way to showcase your personality, adding style, color, and interest to any room. Whether you live in a sleek apartment or a cozy suburban home, creating a gallery wall can transform a blank space into a stunning focal point. Follow this step-by-step guide to design your perfect gallery wall, whether you're using poster prints, framed photos, or wall art.
Step 1: Choose the Right Location
Before you start selecting your artwork, decide where your gallery wall will be. Consider spaces like:
- Living room walls behind the sofa
- Hallways or corridors
- Bedroom walls above the bed
- Staircases for a vertical gallery
- Home offices for a personal touch of inspiration
Tip: Make sure the wall has enough space to fit multiple pieces without feeling crowded. Consider natural lighting and the overall vibe you want to create in the room.
Step 2: Select a Theme or Mix and Match
Your gallery wall should tell a cohesive visual story, whether through a theme or eclectic mix. Some ideas include:
- Thematic Gallery: Stick to a single theme like travel photography, abstract art, or black-and-white prints.
- Eclectic Mix: Combine different types of artwork, such as modern posters, vintage photographs, and inspirational quotes for a more dynamic look.
- Color Palette: Keep to a specific color palette, such as neutrals, pastels, or bold primary colors.
Tip: If you want a unified look, stick with a similar color scheme or frame style. For a more eclectic approach, mix different colors, sizes, and frames.
Step 3: Gather Your Wall Art and Poster Prints
Now that you’ve chosen a theme, it’s time to gather your poster prints, framed art, and photographs. Consider a mix of:
- Poster prints: Affordable and versatile, they can add color and style.
- Personal photos: Include travel memories, family photos, or favorite moments.
- Framed artwork: Original pieces or digital prints, depending on your taste.
- Decorative objects: Plates, mirrors, or even small wall sculptures can add texture.
Tip: Lay everything out on the floor first to visualize the arrangement. This allows you to experiment with different layouts before committing to hanging them on the wall.
Step 4: Plan the Layout
Before you start hammering nails, planning the layout is essential. There are several layout options for a gallery wall:
- Symmetrical Layout: Perfect for a clean, orderly look. Align the artwork in a grid pattern with equal spacing.
- Asymmetrical Layout: A more relaxed and casual arrangement. Use different shapes, sizes, and spacing to create a balanced but dynamic gallery.
- Linear Layout: Hang the artwork in straight lines either horizontally or vertically. This works well for hallways or staircases.
- Salon-Style Layout: For a more traditional, vintage look, arrange the artwork in close proximity, like in old-world art galleries.
Tip: Measure and mark the exact spots where you plan to hang the frames. Use painter’s tape or newspaper cutouts to mimic the size and position of each piece on the wall.
Step 5: Create a Focal Point
Every gallery wall needs a focal point—the first piece your eye is drawn to when looking at the collection. This can be the largest piece, a bold color, or the most visually striking artwork.
- Centered Piece: Place the largest or most significant piece at the center of the gallery wall and build the arrangement around it.
- Offset Focal Point: For a more modern or creative look, your focal piece doesn’t need to be centered. Position it off-center to create balance with the other pieces.
Tip: The focal point can be anything from a vibrant poster print to a meaningful photograph or piece of abstract art.
Step 6: Determine Spacing
Once you’ve finalized your layout, decide on the spacing between each piece. The most common spacing for a balanced look is 2 to 3 inches apart, but this can vary depending on the size and style of the pieces.
- Uniform Spacing: Ideal for a clean, modern look.
- Varied Spacing: Works well for an eclectic, relaxed feel. Larger pieces can be spaced farther apart, while smaller ones can be grouped closer together.
Tip: Use a measuring tape or level to ensure that the spacing is consistent across your gallery wall, especially if you're opting for a grid or linear arrangement.
Step 7: Hang Your Art
Once everything is in place, it's time to start hanging! Use the appropriate hanging hardware based on the size and weight of your frames, such as:
- Nails for lighter pieces
- Wall hooks for heavier artwork
- Adhesive strips for renter-friendly solutions (perfect for renters)
Start by hanging the central or largest piece, then work outward. Use a level to ensure everything is straight.
Tip: To avoid multiple holes in your wall, use removable hooks or strips for lightweight art. Always measure twice before hammering in nails!
Step 8: Adjust and Perfect
Step back and review your gallery wall once all the pieces are up. Make adjustments if necessary. Ensure the wall feels balanced and visually appealing from different angles.
- Rearrange if something looks out of place. Sometimes, shifting one piece a few inches can make a huge difference.
- Lighting: Consider adding accent lighting, such as track lights or wall-mounted lamps, to highlight your gallery wall.
Your Perfect Gallery Wall
Creating a gallery wall is an excellent way to personalize your space while showcasing your favorite art, photos, and memories. Whether you’re following a theme or mixing various styles, a gallery wall will transform any room into a curated reflection of your personality. With the right planning and execution, your gallery wall will serve as a stunning conversation piece and focal point in your home.


